I totally can't take credit for making up this book, but I can share how I made it. This is the direction that was posted on CafeMom:
Circle Flip Up book
by Stacey Carter
Create this quick album to highlight an event or person.
Supplies
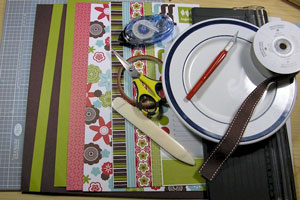
- Circle cutting system( or cutting mat, hobby blade, and salad plate)
- 4 pieces of cardstock for base of project
- Bone Folder
- Sticky Strip™ or other strong adhesive
- SNAIL Adhesive
- Scissors
- Patterned Paper
- Ribbon
Step-by-Step
-
Step 1
Cut four circles out of cardstock. Your finished project will be 1/4 of the circle's original size.
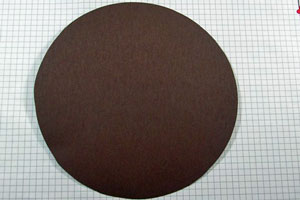
-
To use a salad plate, place cutting mat on table. Put cardstock on cutting mat. Place plate on top of cardstock. Press down on your hobby blade all around the plate.
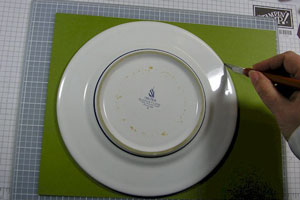
-
Step 2
Fold circle in half vertically using your bone folder.
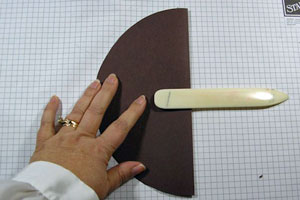
-
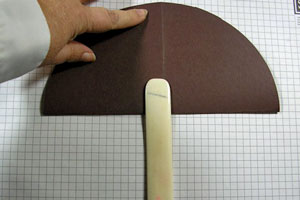
Step 3
Fold circle in half horizontally using bone folder.
-
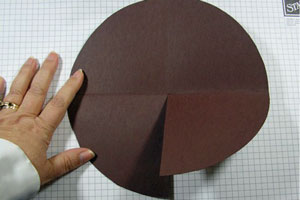
Step 4
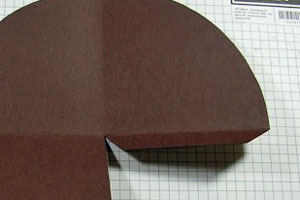
Cut on fold line up to center point.
-
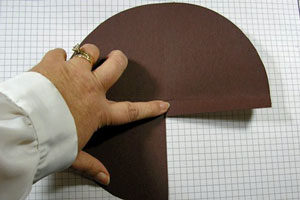
Step 5
Half inch down from fold line cut from right edge of circle to the middle fold line. This makes a flap on the lower right side.
-
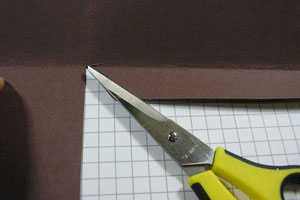
Step 6
Cut at least 45 degree angle cuts on both sides of the flap.
-
You should now have 4 circles that look like this.
-
Step 7
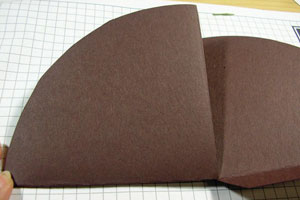
Fold up the bottom left section.
-
Step 8
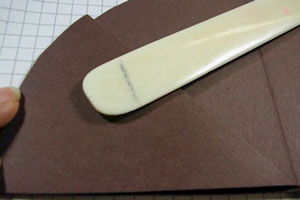
With your bone folder fold the flap down in half. This will make a mountain fold.
-
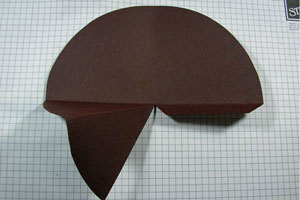
This is what your circles now look like.
-
Step 9
Decorate your circles.
It is important that you decorate this project before assembly and not place any decorations on your fold line.
Use any paper or accessories you desire. Here, the pieces from the circle that I cut off were used as a template for the scrapbook paper. I cut it in half when I put it on the mountain folded section.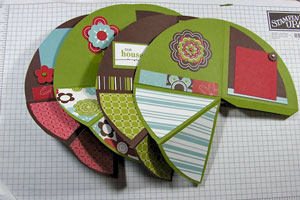
-
Step 10
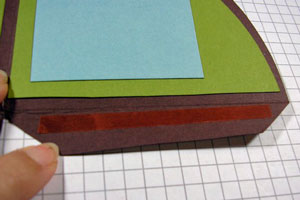
Place Sticky Strip™ on flap close to the inner edge. This must be a permanent adhesive or they will fall apart.
-
Step 11
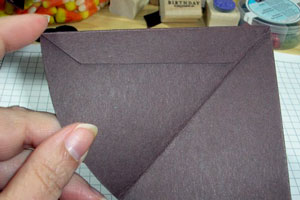
Slide the lower left hand section over the flap. The flap will be on the bottom.
-
Step 12
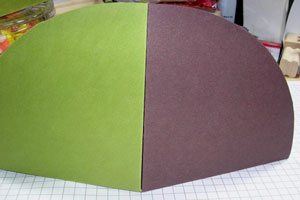
You now have 4 panels. You will attach the 1st panel to the 2nd one, the 2nd one to the 3rd one and the 3rd one to the 4th one. The 1st one is the front of your book. The 4th one is the back of the book.
Place snail (or other adhesive) all around the edge of the panel and 2 stripes in the center. Line them up on the bottom corner and edge. Then smooth them together.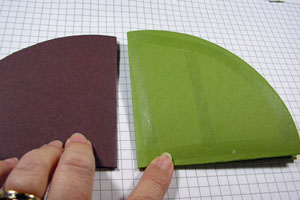
-
-
Step 13
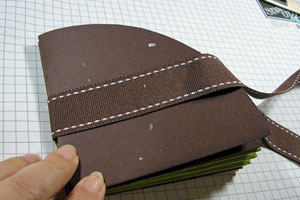
Cut 24 inches of ribbon. Center the ribbon around the book. Tape the ribbon to the front and the back panels (not the spine).
-
Step 14
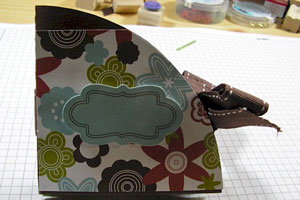
Decorate the front and back of the book as desired.
-
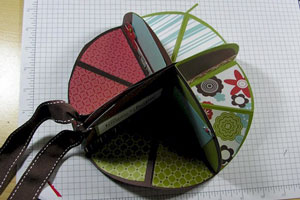
Here is the book open. You can tie it open so it sits nicely on a table.
No comments:
Post a Comment